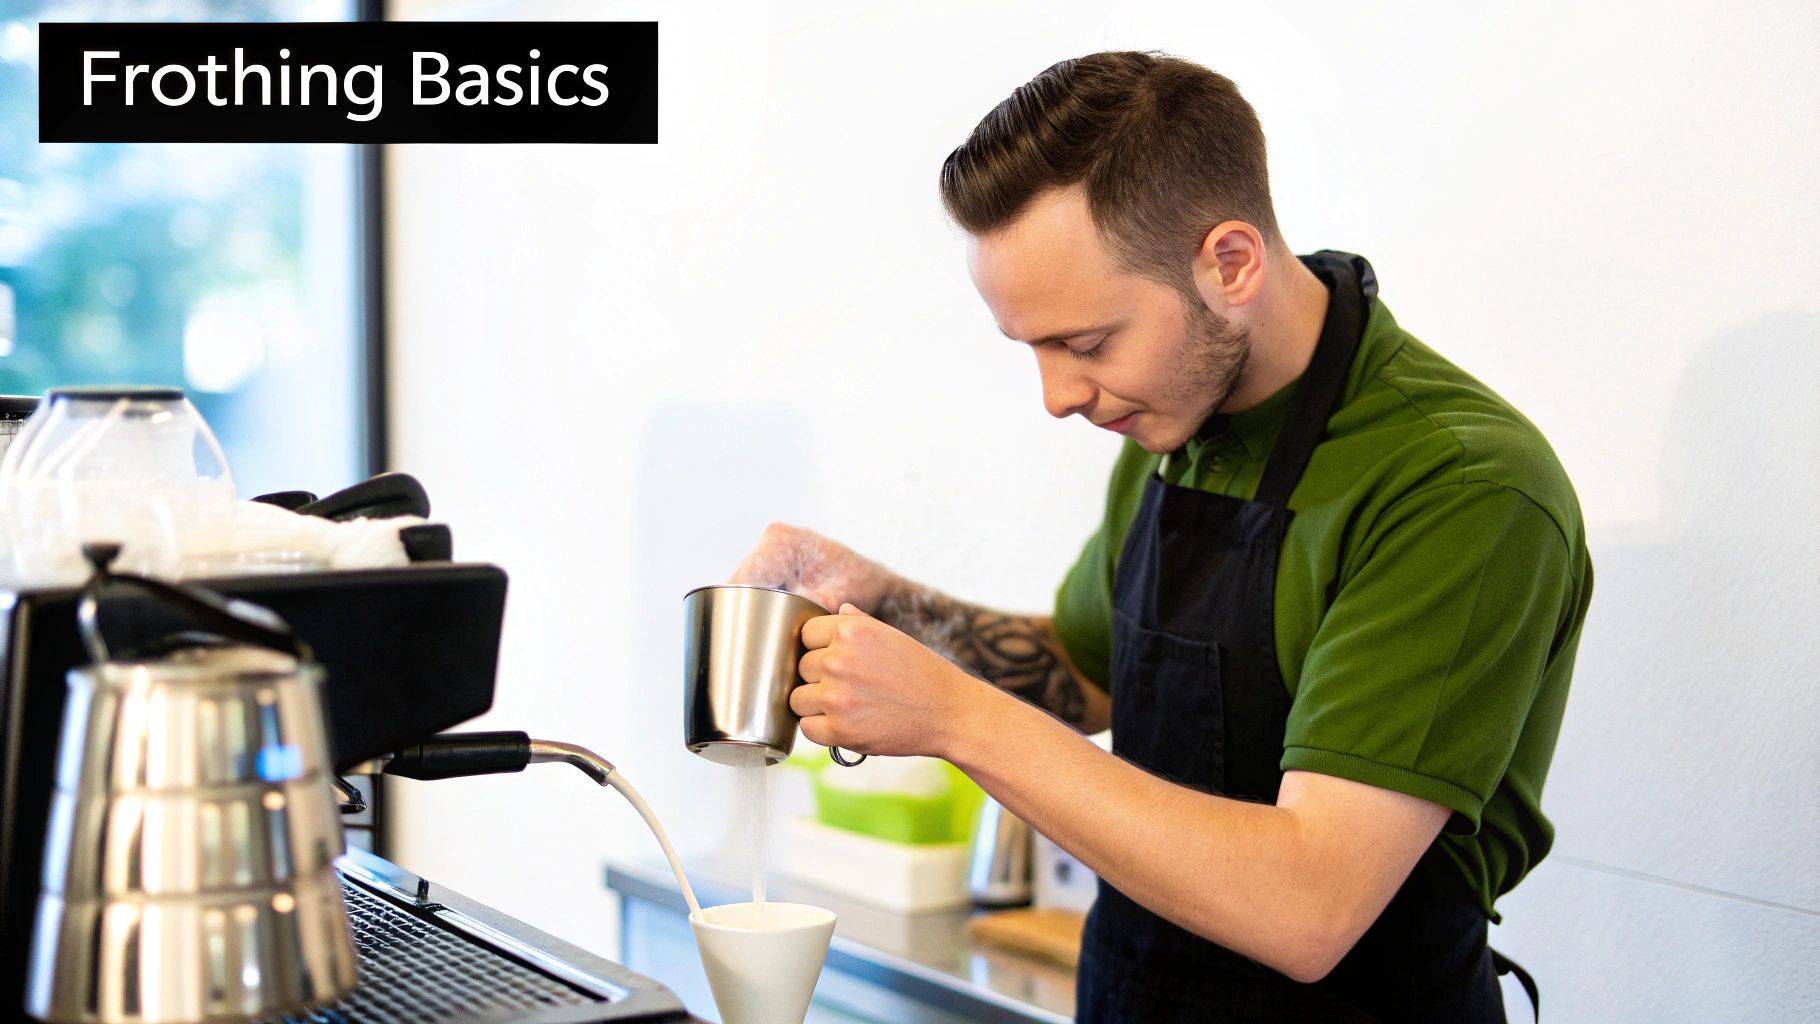
Ever wondered how baristas create that perfect, creamy foam for your cappuccino? It's simpler than you think. Frothing milk is really just about introducing tiny air bubbles into cold milk, which expands to create that velvety texture we all love. You can do this with anything from a high-end espresso machine steam wand to a simple handheld frother, or even a French press you already have in the cupboard. It's all about mastering the technique for the tool you've got.
Your Guide to Cafe-Quality Milk Froth
Ready to take your home coffee game to the next level? This guide will show you exactly what you need to know to get that silky, perfect milk froth every single time. We'll start with the basics, breaking down why choosing the right milk and the right tool is the secret to a great coffee.
You'll get a quick peek into how the protein and fat in milk work together to create that incredible texture. We'll also walk through the most common ways to froth milk at home so you can figure out what works best for your kitchen and your budget. Think of this as your crash course in frothing with confidence.
Getting that cafe quality at home is so rewarding. It reminds us of how our local suppliers pour their heart into sourcing the best beans. To see what we mean, you can read more about one of our amazing local partners here: https://www.absolutecravings.com.au/celebrating-our-local-supplier-long-shot-coffee/
Here's a little secret: amazing frothed milk isn't about having the most expensive gear. It’s about understanding the simple science behind it and getting your technique down.
And for any cafe owners reading this, knowing what your customers love is everything. If you're looking for ways to really understand what your patrons think about your coffee, learning about gathering customer feedback in a cafe setting can give you some incredible insights.
Choosing The Best Milk For Frothing
The secret to that luscious, stable foam you get at your favourite cafe isn't just in the barista's technique—it starts long before that, with the milk you choose. If you're chasing that cafe-quality result at home, the magic lies in the perfect combination of protein and fat. This duo is what creates the silky, velvety texture we all crave in a flat white or cappuccino.
Full-cream dairy milk is the gold standard for a very good reason. Its higher fat content gives it that rich flavour and creamy mouthfeel, while the proteins are absolutely essential for building and holding the foam's structure. When you introduce air, these proteins unravel and form a strong, stable network around the tiny air bubbles, creating what the pros call microfoam.
It's interesting to note that milk quality isn't always the same year-round. Here in Australia, seasonal changes can really affect how well milk froths. During periods of heat stress, for instance, dairy cows can produce milk with a protein structure that just doesn't want to hold foam. It's a real challenge that cafes in regions like the Sunshine Coast hinterland sometimes have to navigate. You can actually find more insights on how climate affects milk over on rnz.co.nz.
Plant-Based Milk Options
If you're more of a non-dairy person, don't worry—you can still achieve a fantastic froth. The trick is to look for "barista blend" versions of your favourite plant-based milks. These are specially formulated, often with added proteins or stabilisers, to mimic the frothing performance of dairy.
- Oat Milk: This is a huge crowd favourite, and for good reason. It has a beautifully creamy texture and a neutral flavour that pairs perfectly with coffee. Barista-style oat milk froths reliably and creates a smooth, durable foam that’s even great for latte art.
- Soy Milk: Another excellent performer. Soy milk is naturally high in protein and produces a dense, thick foam. It’s a super dependable choice for creating those pillowy, cloud-like cappuccinos.
- Almond Milk: Standard almond milk can be a bit tricky, often resulting in large, unstable bubbles that disappear quickly. A barista blend is an absolute must here to get a finer, more consistent texture.
No matter which milk you go for, always start with it fresh and cold, straight from the fridge. This gives you more time to introduce air and create that perfect swirling vortex before the milk gets too hot.
For anyone exploring healthy cafe options in Townsville, finding a spot that truly understands the nuances of both dairy and plant-based milks is a game-changer. You can learn more about where health meets taste in our local guide.
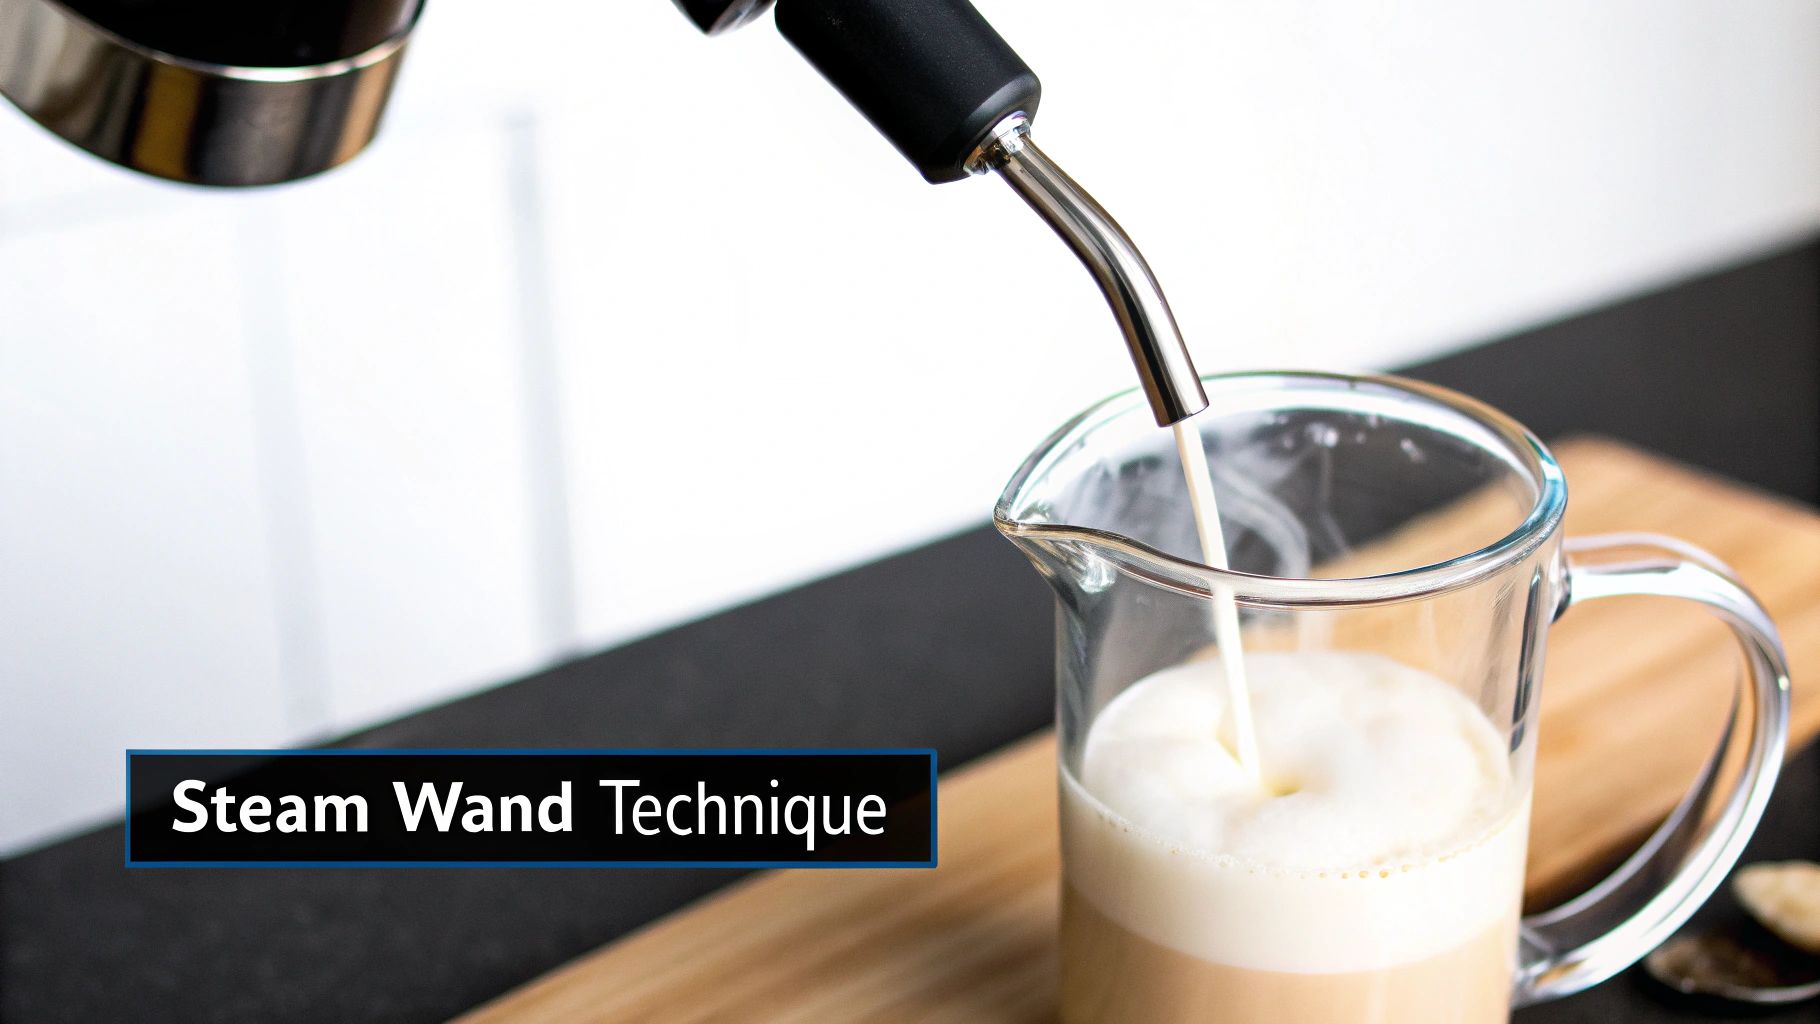
How to Use a Steam Wand Like a Pro
If your espresso machine is equipped with a steam wand, you're holding the secret to that cafe-quality microfoam we all crave. It’s not just about heating the milk; it’s a two-part art form. First, you stretch the milk to introduce air, then you texture it to create that silky, polished finish. This is how you turn a splash of cold milk into liquid gold for the perfect flat white.

Before you do anything, give the steam wand a quick blast to purge any trapped water. Now, with your pitcher of cold milk, lower the steam tip so it’s just sitting beneath the surface. Listen closely. You’re after a gentle, consistent hissing or tearing sound. That’s the magic sound of air being perfectly folded in. If you hear a loud, bubbly gurgle, you’re on the fast track to big, soapy bubbles instead of that glorious microfoam.
Once the milk has grown in volume by about 20-30% and the pitcher starts to feel lukewarm, it’s time to move on to the next, crucial phase.
The Art of the Vortex
This next part is all about creating a powerful whirlpool. You’ll want to sink the steam wand a bit deeper into the milk and position it slightly off-centre. This will get the milk spinning into a vortex, which is absolutely essential for breaking down any larger bubbles and blending everything into a uniform, glossy texture. The milk should be swirling smoothly, almost silently, with no splashing.
Keep that vortex rolling until the outside of the jug becomes too hot to comfortably touch for more than a second or two. For most people, that’s right around 60-65°C. Go hotter, and you’ll scorch the milk, killing its natural sweetness and causing your beautiful foam to collapse.
Remember this: The stretching phase creates the volume, but the texturing phase creates the quality. A good vortex is non-negotiable for achieving that wet-paint finish that defines a cafe-quality coffee.
Down here in Australia, baristas are notoriously particular about their gear and technique. Many swear by smaller 360ml pitchers for single coffees, as they give you far better control over the vortex and cut down on waste. Using just enough milk for the drink you’re making isn’t just good business sense; it ensures the final product keeps its sweet, protein-rich flavour. You can read more about how milk management impacts cafes on home-barista.com.
As soon as you hit your target temperature, turn the steam off before pulling the wand out. Give the pitcher a solid tap on the counter to eliminate any lingering big bubbles, then give it a gentle swirl to polish the milk into a glossy, seamless liquid. Now, you’re ready to pour.
Frothing Milk Without an Espresso Machine
You really don't need a fancy espresso machine with a steam wand to create that beautiful, creamy frothed milk we all love. In fact, you can get fantastic results with a few clever, low-cost methods using tools you’ve probably already got in your kitchen.
Whether it’s a simple handheld whisk or your trusty French press, achieving cafe-quality foam at home is much easier than you might think.
The trick is to start with cold milk and warm it up gently. You're aiming for that sweet spot of around 60-65°C before you start frothing. This temperature is perfect for helping the milk proteins trap air, which is how you create a stable, delicious foam. Let's look at a few of my favourite ways to do it.
Quick and Easy Handheld Frothers
A battery-operated handheld frother is an absolute gem for anyone on a budget. These little whisks are incredibly easy to use, and cleaning them is a breeze.
Once your milk is warmed up in a mug or a small jug, just dip the frother's springy tip right below the surface and flick it on. Hold it near the top for a few seconds to pull in some air and build volume, then push it a little deeper to create a gentle vortex. This simple motion breaks down the big bubbles, leaving you with silky microfoam that's perfect for lattes. The whole thing takes less than a minute.
The Surprisingly Effective French Press Method
Your humble French press isn't just for brewing a weekend coffee; it’s a bit of a secret weapon for frothing milk. The fine mesh of the plunger is brilliant at aerating the milk evenly, creating a dense, luxurious foam that’s surprisingly close to what a real steam wand can do.
Just pour your warm milk into the cafetiere, making sure not to fill it more than halfway. From there, it's all in the wrist—pump the plunger up and down vigorously for about 30-60 seconds. If you want that velvety texture for a flat white, keep the plunger just below the surface to create smaller bubbles.
The French press gives you amazing control over the foam's density. For a thick, cappuccino-style foam, use full pumps that break the surface. For a smoother texture, stick to shorter, quicker pumps that stay within the milk.
The Classic Mason Jar Technique
If you're in a real pinch, a simple glass jar with a good, tight lid can save the day. Just fill the jar about halfway with cold milk, screw the lid on tight, and give it a really good shake for about a minute. You're looking for the milk to roughly double in size.
Once you’ve got it frothy, take the lid off and pop it in the microwave for around 30 seconds. This little heat blast helps to stabilise the foam, giving it a much better texture and helping it hold up in your coffee. It’s a beautifully simple trick that works every time.
Crafting Silky Microfoam for Lattes and Flat Whites
When you move past the big, airy bubbles of a classic cappuccino, you discover microfoam – the real signature of a premium coffee. This is what gives drinks like the flat white and latte their velvety, liquid-paint texture, allowing the milk to blend seamlessly with the espresso instead of just sitting on top.
Getting this right is all about a specific technique that focuses on minimal aeration. You want to introduce just a tiny bit of air right at the beginning, then spend the rest of the time spinning the milk into a silky vortex. This motion breaks down any larger bubbles into microscopic ones, creating a gorgeous, glossy finish that feels incredibly rich and creamy.
The Iconic Australian Flat White
The quest for perfect microfoam has deep roots in Australian coffee culture. Our local coffee scene is one of the most developed in the world, and it was here that the flat white emerged as a signature drink back in the 1980s. This Aussie icon shifted the focus from stiff, dry foam to a smoother, more integrated texture that truly enhances the espresso’s flavour.
Control is everything. By carefully managing the steam wand, you create a beautiful swirl that polishes the milk until it shines. When you've nailed it, the foam will have no visible bubbles and pour like warmed honey, giving you the perfect canvas for latte art.
The ultimate goal is texture, not just air. When you get it right, the microfoam enhances the natural sweetness of the milk and creates a balanced, flavourful sip from start to finish.
Once you’ve mastered the art of creating silky microfoam, you’ll be able to prepare a variety of espresso drinks with the confidence of a seasoned barista.
Common Milk Frothing Questions Answered
Even when you follow all the steps, getting milk just right can sometimes throw you a curveball. From milk that just won't foam up to getting the temperature perfect, let's troubleshoot some of the common hurdles you might run into on your way to cafe-quality coffee at home.
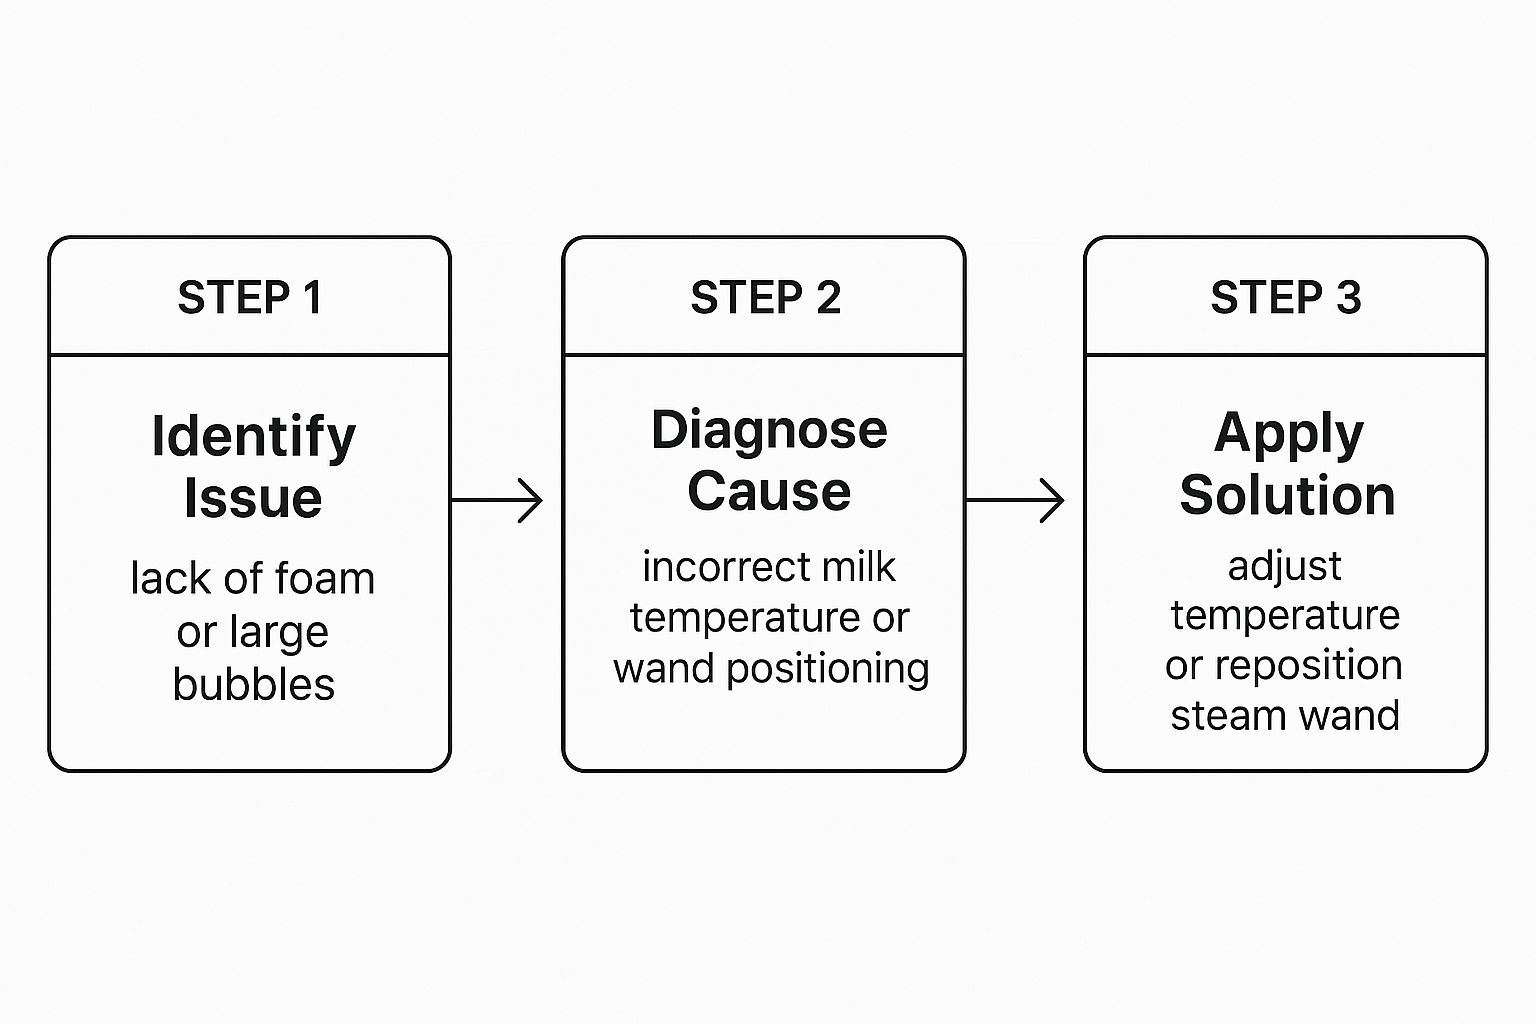
Why Is My Milk Not Frothing Properly?
There are a few usual suspects when your milk stubbornly refuses to cooperate. First up, check its freshness. As milk gets older, the proteins start to break down, which makes it much harder to create and hold that lovely, stable foam. For the best results, always start with the freshest milk you can get your hands on.
Temperature is another massive factor. You absolutely must start with cold milk, straight from the fridge. This gives you a much longer window to work air into it before it gets too hot. If you're using plant-based milk, make sure you've grabbed a ‘barista blend’. These are specifically formulated with stabilisers that help create that silky, delicious microfoam we're all chasing.
The sweet spot for frothed milk is between 60-65°C. Go any hotter, and the proteins break down, the foam collapses, and the milk gets a burnt flavour. Any cooler, and you won't unlock its natural sweetness.
Can I Froth Milk That Has Already Been Heated?
It’s really best not to. The whole magic of frothing milk is in how it changes the milk's protein structure to trap air, and this works best when you start cold. Trying to reheat and froth milk that’s already been warmed up will almost always leave you with a flat, disappointing texture.
The proteins have already been changed and simply won't hold air a second time around. For that creamy, delicious foam, it’s a one-shot deal—always start fresh.
Watching the pros can be a great way to pick up new tricks. For some inspiration, see how the experts do it by checking out our guide to finding a great coffee shop where you can observe their techniques firsthand. It's a fantastic way to appreciate the art of a perfectly made drink.
At Absolute Cravings, we believe a great coffee is the perfect start to any day. Swing by our Townsville cafe to enjoy a delicious, expertly made coffee crafted with care. Visit us at https://www.absolutecravings.com.au to see our menu.


